
How to Untangle a Knotted Chain Without Damaging It
Chains are among the most common accessories because they are simple, stylish, and easy to wear in many different ways. They can be worn around the neck, wrapped around the wrist, or placed around the ankle to add a small but noticeable finishing touch to an outfit.
Yet anyone who owns a chain knows how quickly that favorite piece can become frustrating. One moment it is ready to wear, and the next it has twisted itself into a tight knot that seems impossible to loosen.
A tangled chain may look like a lost cause at first, especially when the links are delicate or the knot is very small. However, most knots can be removed with patience, good lighting, and the right approach.
The most important thing is not to panic or pull too hard. Rushing can tighten the knot, bend the chain, or even cause the accessory to break. A calm and careful method gives you the best chance of saving the chain without causing damage.
Start With Patience and a Calm Approach
Before touching the knot, take a moment to slow down. Detangling a chain is not usually difficult because it requires strength. It is difficult because it requires control.
When frustration builds, the natural reaction is to tug at the chain and force the knot apart. That is exactly what can make the problem worse. Pulling too quickly can tighten the tangled links until they are harder to separate.
A better approach is to treat the process like a small repair job. Work slowly, use light pressure, and give yourself enough time to see what is happening. Even a very tight knot can often be loosened little by little.
Patience also helps protect the chain itself. Many chains are made with small, fine links that can bend, scratch, or snap if handled roughly. Staying calm keeps your movements gentle and precise.
Choose a Bright Workspace
The first practical step is to find a well-lit place to work. Good lighting makes it much easier to see where the chain crosses over itself and where the knot begins.
Natural light is especially helpful because it can make small details easier to notice. A table near a window can give you a clearer view of the knot and reduce eye strain while you work.
If you are working in the evening or in a darker room, use a bright lamp. Place the light so it shines directly on the chain without casting heavy shadows over the knot.
A clean workspace is also helpful. Choose a flat surface where the chain will not slide away or fall to the floor. A table, desk, or counter can give you the stable area you need.
A bright workspace may seem like a small detail, but it can make a major difference. When the knot is tiny, being able to see each movement clearly is often the difference between loosening it and tightening it further.
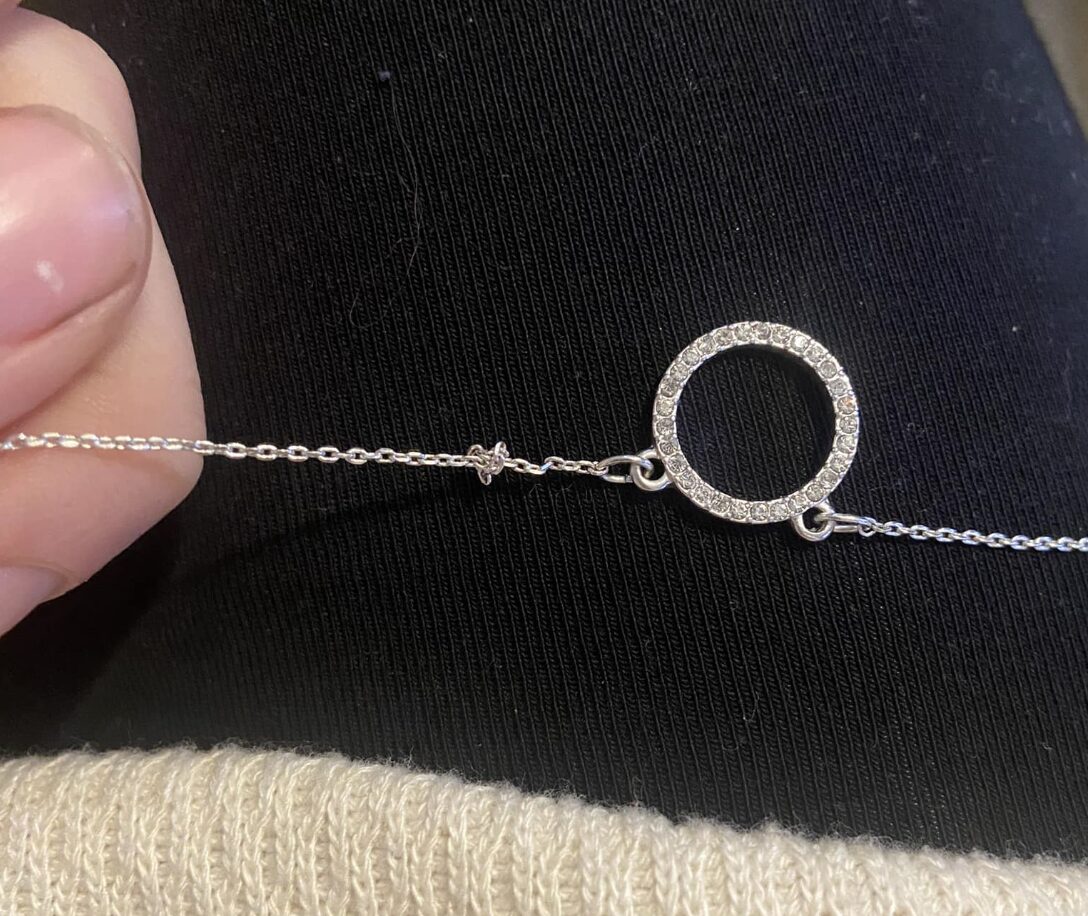
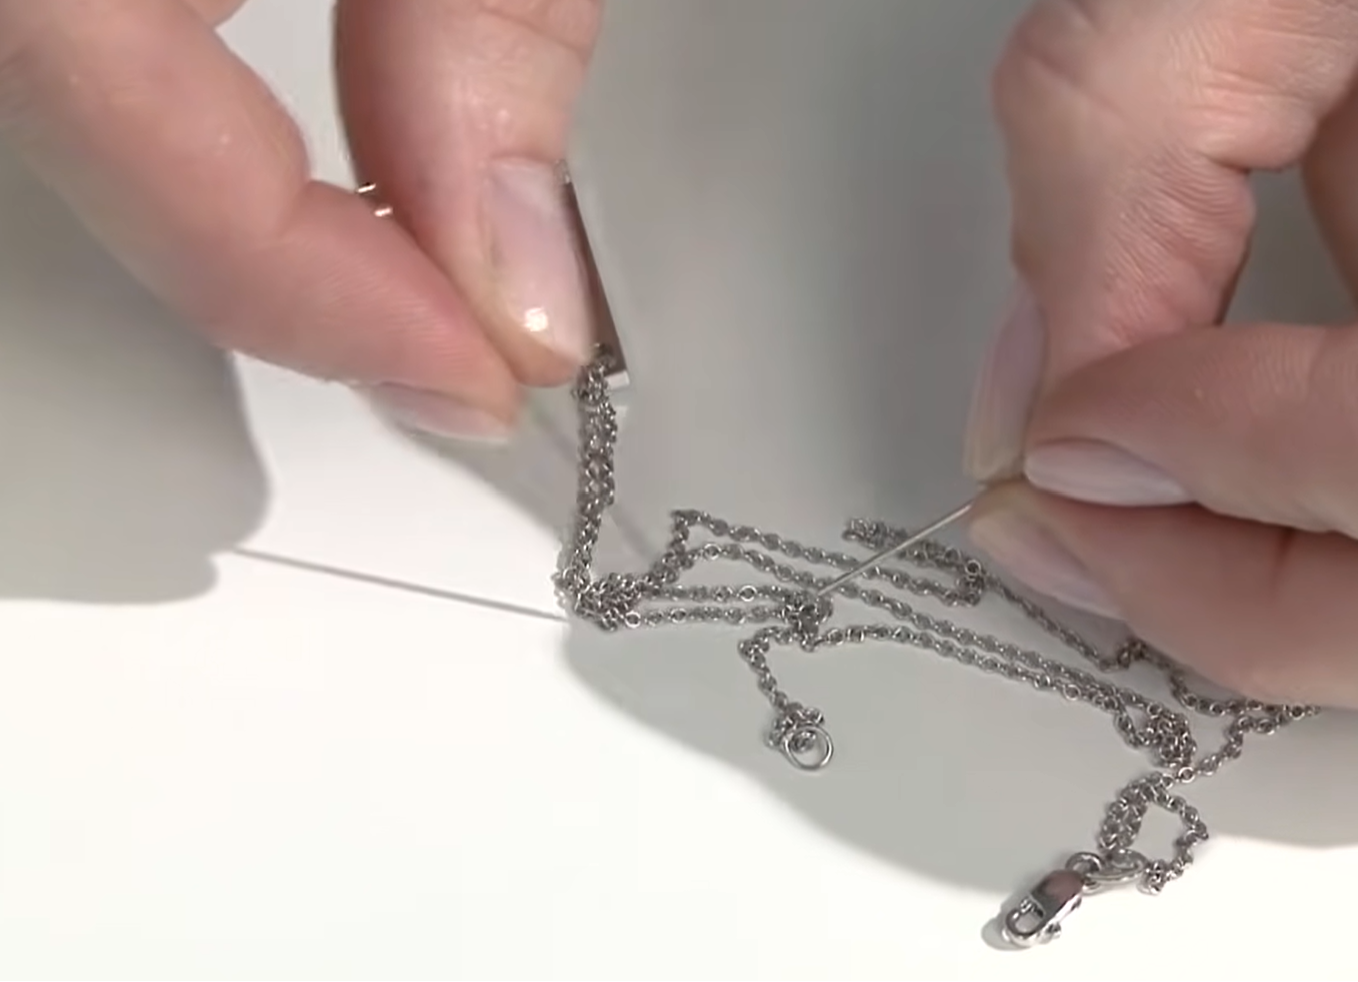
Lay the Chain Flat Before You Begin
Once you have chosen your workspace, place the chain flat on the surface. Spread it out as much as possible so you can see the full length of the accessory.
This step helps you separate the actual knot from ordinary twists in the chain. Sometimes a chain looks badly tangled because the loose ends are crossed or kinked, even though only one small knot is holding everything together.
Do not start by pulling both ends apart. Instead, gently arrange the chain so it lies as naturally as possible. This allows the knot to sit in the open where you can inspect it.
Laying the chain flat also prevents new tangles from forming while you work. If part of the chain hangs over the edge of a table or bunches underneath your hand, it can create more twisting and make the problem harder to solve.
Take your time with this step. The flatter and clearer the chain is before you begin, the easier it will be to understand what needs to be loosened.
Identify the Type of Knot
Not every knot is the same. Some knots are simple loops that only need a gentle push or slight separation. Others are tighter and more complex, with several links wrapped around each other.
Before using tools, look closely at the knot and try to understand its shape. Find where the chain enters the knot and where it exits. This can show you which part needs to move first.
If the knot is a loose loop, your fingers may be enough. Gently lift one side of the loop and try to create a little space inside it. Once there is room, the chain can often slide through and release itself.
If the knot appears compact and firm, do not force it. A tight knot usually needs to be opened from the center before the ends can be moved. Pulling the ends first may only lock it in place.
Understanding the knot helps you choose the right method. A simple knot may need only careful handling, while a stubborn one may require a small tool, lubrication, or more precise control.
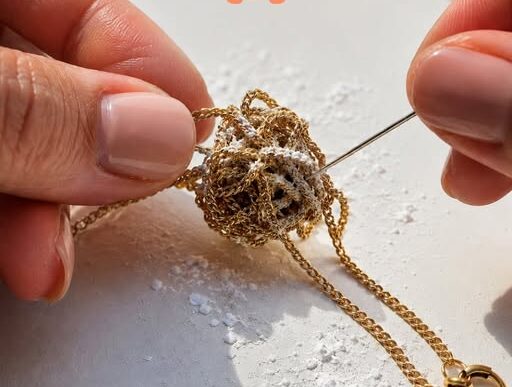
Use a Straight Pin or Needle for Tight Knots
For a knot that will not loosen with your fingers, a straight pin or needle can be very useful. The small point can reach into spaces that fingertips cannot.
Insert the pin gently into the middle of the knot. The goal is not to stab or pull the chain. The goal is to create a tiny opening between the tangled links.
Move the pin slowly and carefully. Work it around the center of the knot and try to lift one small section at a time. Even a slight amount of space can make the knot easier to loosen.
This method requires a steady hand. The chain should remain flat on the surface while you work, and the pin should be used with light pressure.
Be careful not to snag the chain. If the links are delicate, pushing too hard can scratch or bend them. You should also keep your fingers clear of the sharp point to avoid poking yourself.
As the knot begins to loosen, pause and check the chain again. You may be able to switch back to your fingers once there is enough space to move the links safely.
Add a Small Amount of Lubrication
If the knot remains stubborn, a tiny amount of oil or lubricant can help reduce friction. When links rub tightly against each other, they may resist movement even when you are using the right technique.
Apply only a small drop directly onto the knot. Too much can make the chain slippery and harder to control. A little lubrication is usually enough to help the links slide more easily.
After applying it, let it sit for a few minutes. This gives the lubricant time to settle into the tight areas of the knot.
Once it has had time to work, gently move the chain again. You may notice that the links shift more freely and the knot becomes easier to open.
Lubrication should be used carefully. The point is to make the chain easier to maneuver, not to soak the entire accessory. Keep your workspace clean and wipe away any excess when the knot is removed.
Use Tweezers or Needle-Nose Pliers for Better Control
Some knots are too small or tight for fingers to handle comfortably. In that case, tweezers or needle-nose pliers can provide extra precision.
Use the tool to gently grip the chain near the knot. Do not squeeze hard. The goal is to hold the links steady while you create small movements.
Try moving the chain back and forth on either side of the knot. Small motions can help loosen the tangled section without adding too much pressure.
Tweezers are useful for delicate work because they allow you to pick up a single part of the chain. Needle-nose pliers can help when the knot needs firmer control, but they should still be used gently.
Avoid clamping down on the chain. Heavy pressure can flatten links or leave marks. If the tool slips or feels too forceful, stop and reposition it before continuing.
This method works best when paired with patience. The tool gives you more control, but it does not replace careful handling. Work slowly and focus on loosening the knot instead of pulling it apart.
Take Breaks When Frustration Builds
Untangling a chain can take time, especially if the knot is tight or complicated. If you feel yourself becoming annoyed, step away for a short break.
A fresh look can help you see the knot differently. After a few minutes away, you may notice an opening or loose section that was not obvious before.
Taking breaks also prevents mistakes. When frustration takes over, it becomes easier to pull too hard, twist the chain, or rush through a step that should be handled carefully.
There is no need to solve the knot all at once. A slow process is still a successful process if the chain comes out undamaged.
Patience matters throughout the entire task. It is not just a starting point. It is the main tool that helps every other method work properly.
Prevent Future Knots With Better Storage
Once the chain is free, it is worth taking a few simple steps to prevent the same problem from happening again. Proper storage can greatly reduce the chances of knots forming.
Chains should be stored separately whenever possible. When several chains are placed together in one pile, they can twist around each other and create tangles.
Hanging chains is one practical solution. When a chain hangs freely, it is less likely to fold over itself and form a knot.
Individual compartments can also help. Keeping each chain in its own small space prevents it from rubbing against other accessories or becoming wrapped around another piece.
Before putting a chain away, make sure it is not already twisted. A small twist can tighten over time, especially if the chain is moved around inside a drawer or container.
Taking a few seconds to store the chain carefully can save much more time later. Prevention is often easier than detangling a knot after it has already formed.
A Careful Method Can Save Your Favorite Chain
A knotted chain can be irritating, but it does not have to ruin your accessory. With the right setup and a patient mindset, most tangles can be worked apart safely.
Start with a bright workspace, lay the chain flat, and study the knot before pulling. If your fingers are not enough, use a straight pin, needle, tweezers, or needle-nose pliers with gentle control.
For knots that resist movement, a small amount of lubrication may help the links slide more easily. The key is to use only a tiny amount and give it time to settle into the knot.
Throughout the process, patience remains the most important part. Moving slowly protects the chain and gives you a better chance of loosening the knot without damage.
After the chain is untangled, store it properly so it stays ready to wear. Separate storage, hanging, and individual compartments can help keep chains smooth, neat, and free from future knots.
Detangling a chain may feel like a small battle, but it is one that can usually be won with calm hands and careful attention. The next time a favorite chain ties itself into a knot, a steady approach can help bring it back to wearable condition.